FastMCP尝试
当大型语言模型刚出现时,用户想要与之进行交互时必须将代码复制并粘贴到聊天文本界面中。很明显这是不够的,想要更好的效果就只能加载更多的上下文或者定制开发。定制开发的话就不够通用,每个功能都需要单独开发。
MCP(Model Context Protocol)通过提供通用协议来解决这个问题,该协议用于与本地和远程资源进行高效的人工智能交互。
协议
- 用户主机使用LLM应用(如Claude Desktop、 Cherry Studio、 Cursor等等)来进行初始化连接
- 客户端维护着一条与服务器的连接
- 服务器提供上下文、工具和提示词给客户端
使用FastMCP来创建MCP Server
MCP Server分为两种启动方式:
- 本地启动方式 stdio
- 远程服务启动方式 sse
例子1 Dog-MCP-Server
这里使用一个框架FastMCP来辅助快速创建一个MCP服务,具体的可以参考fastmcp
import { FastMCP } from 'fastmcp' |
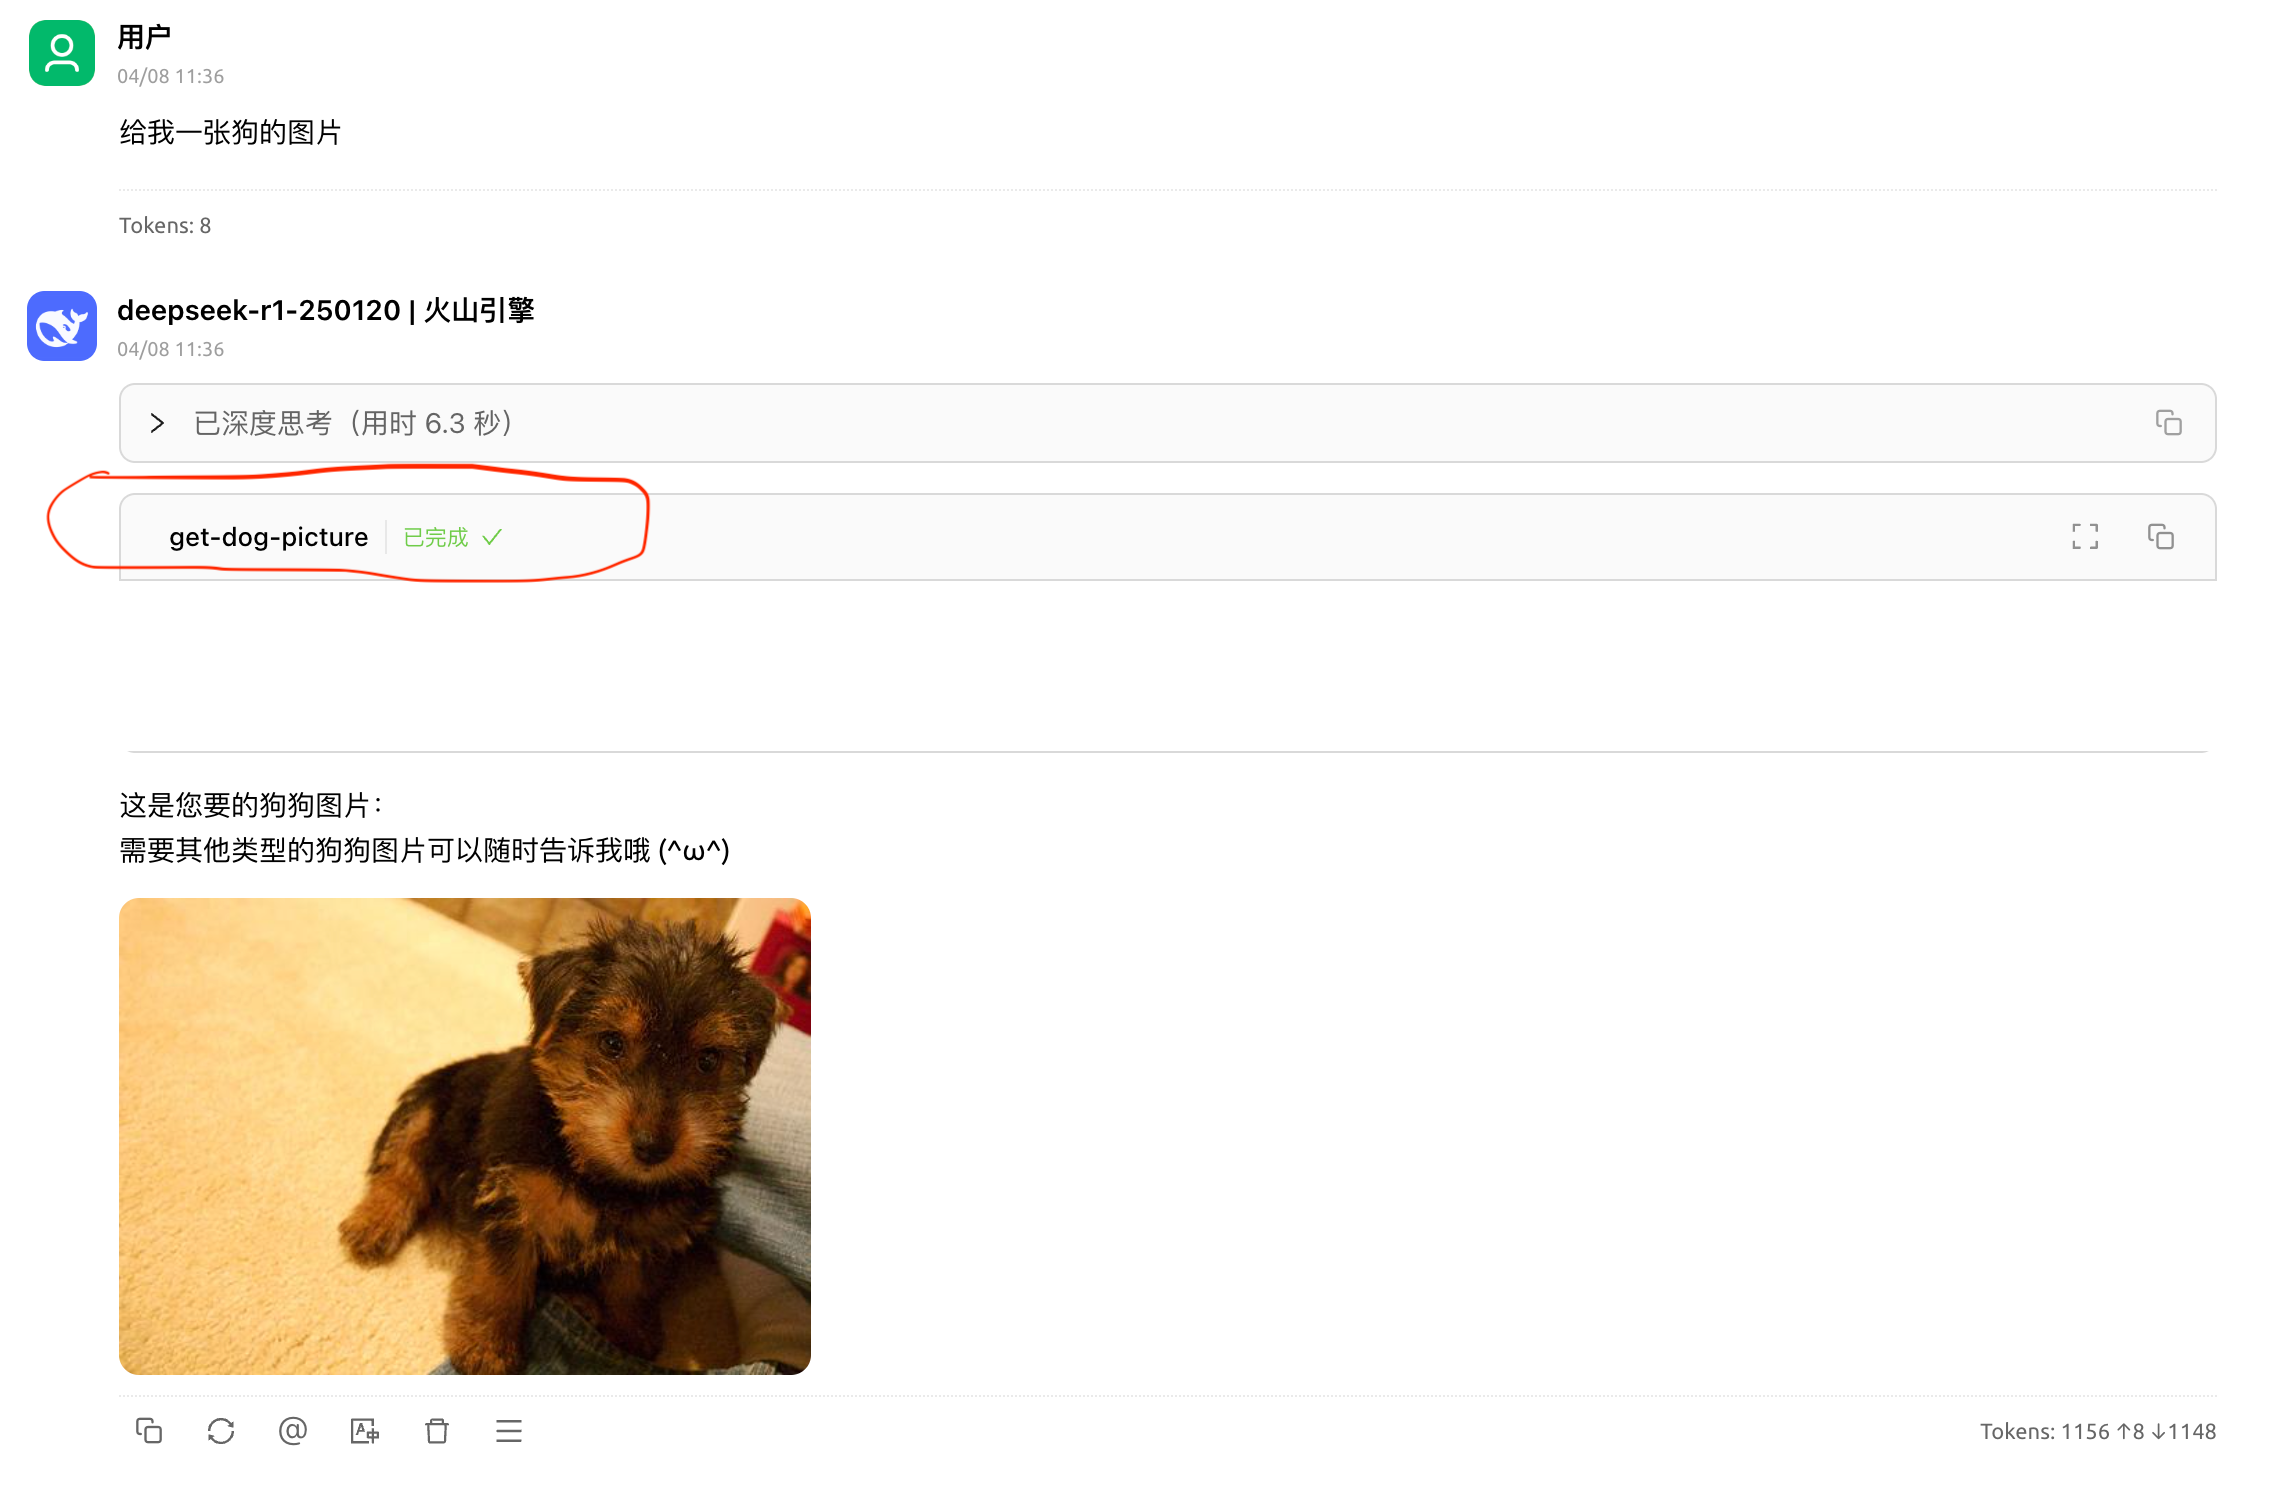
我们使用Cherry Studio来查看效果,在Cherry Studio中MCP设置里面填入对应的设置,可以使用本地标准输入输出的方式(stdio),也可以使用服务器发送事件的方式(sse)。配置完成之后,询问大模型获取狗狗图片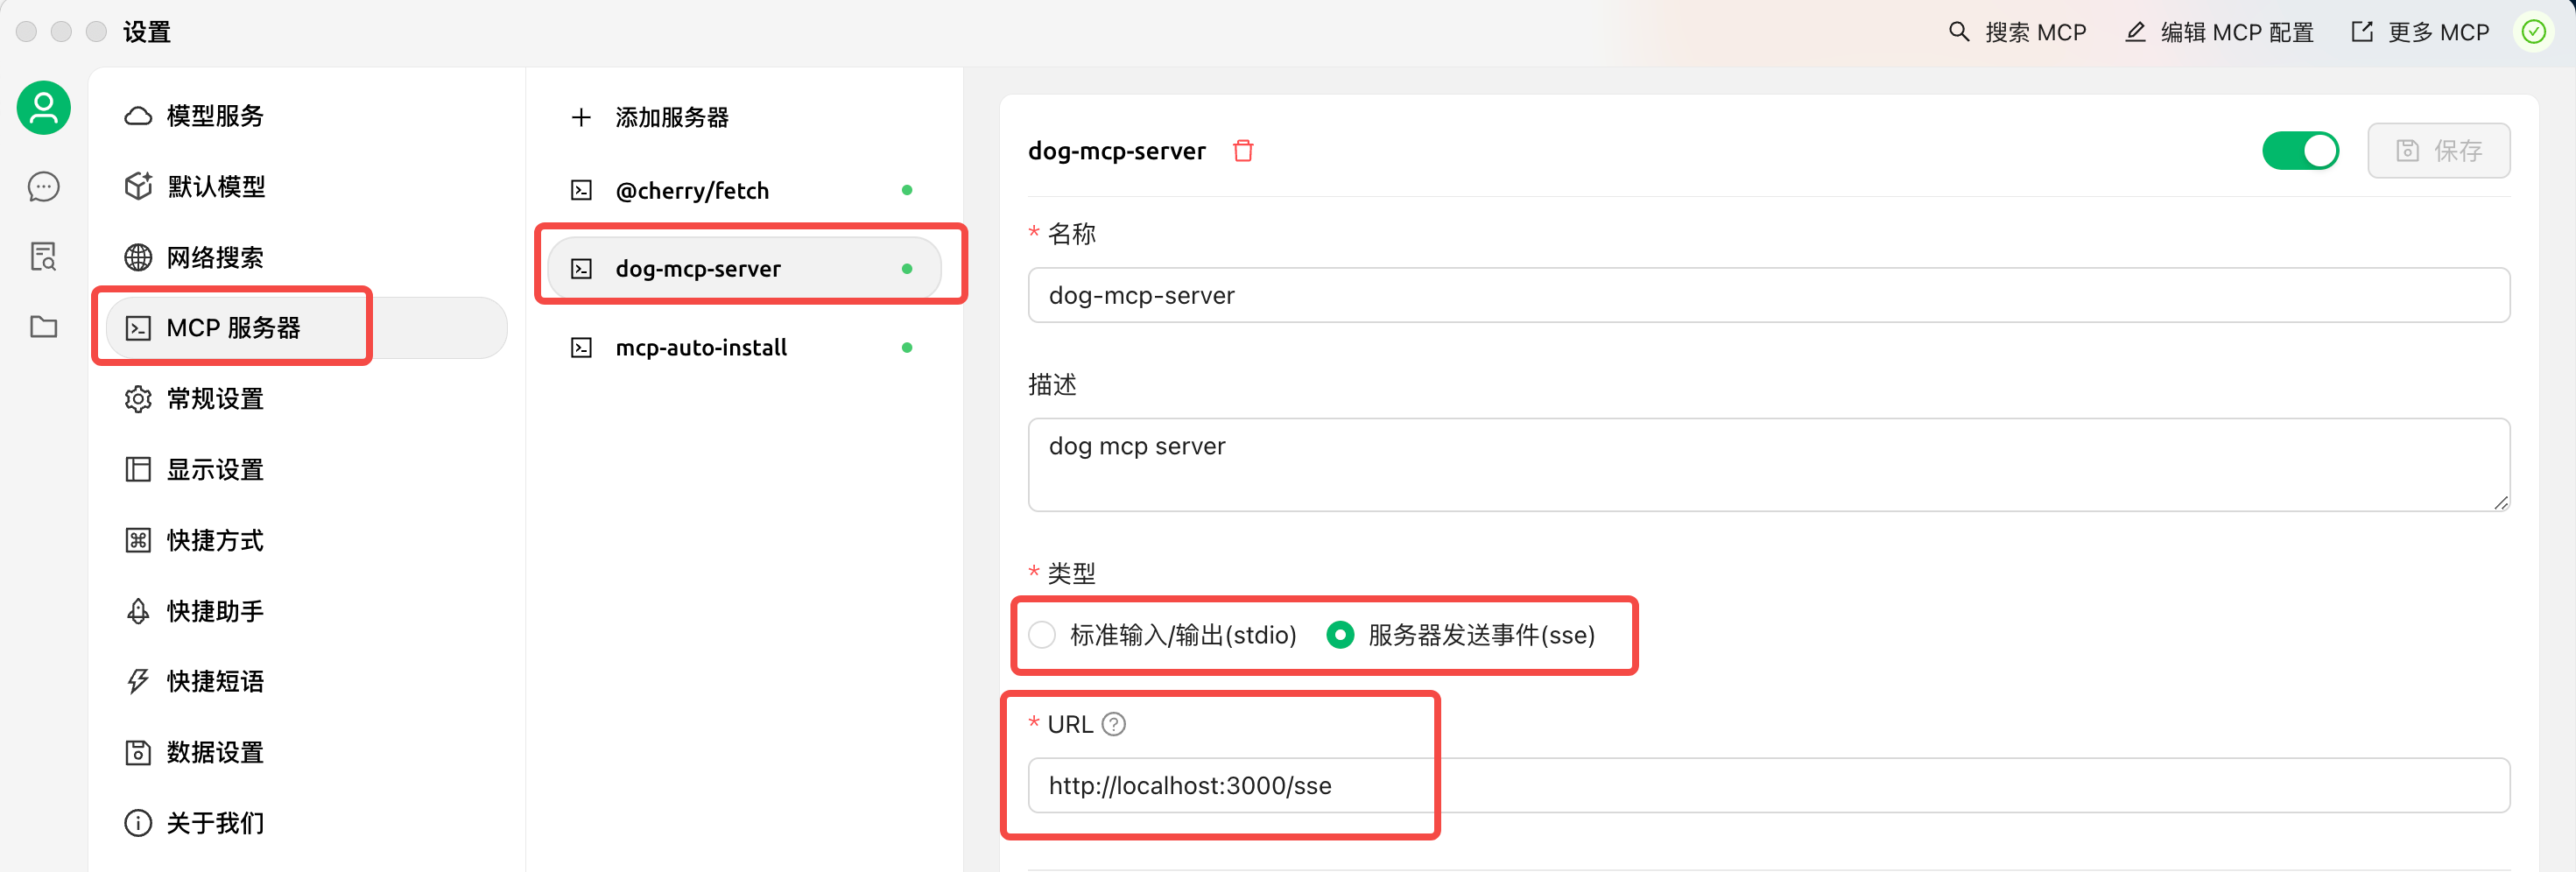
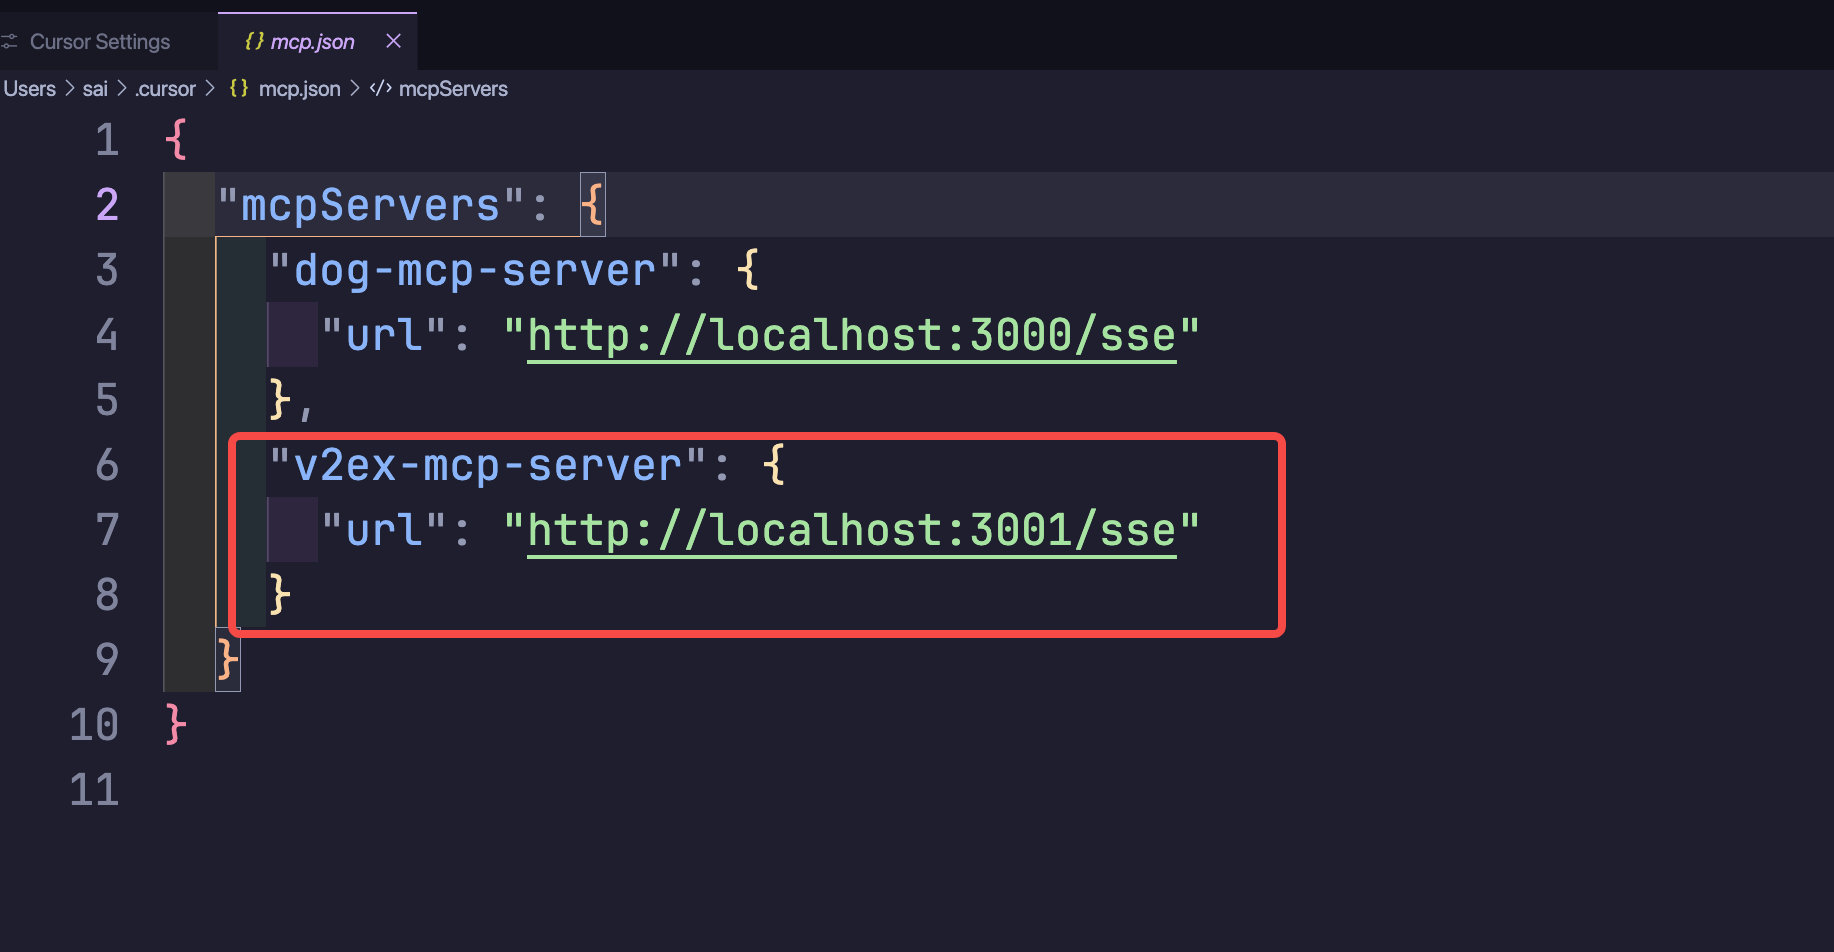
例子2 V2EX-MCP-Server
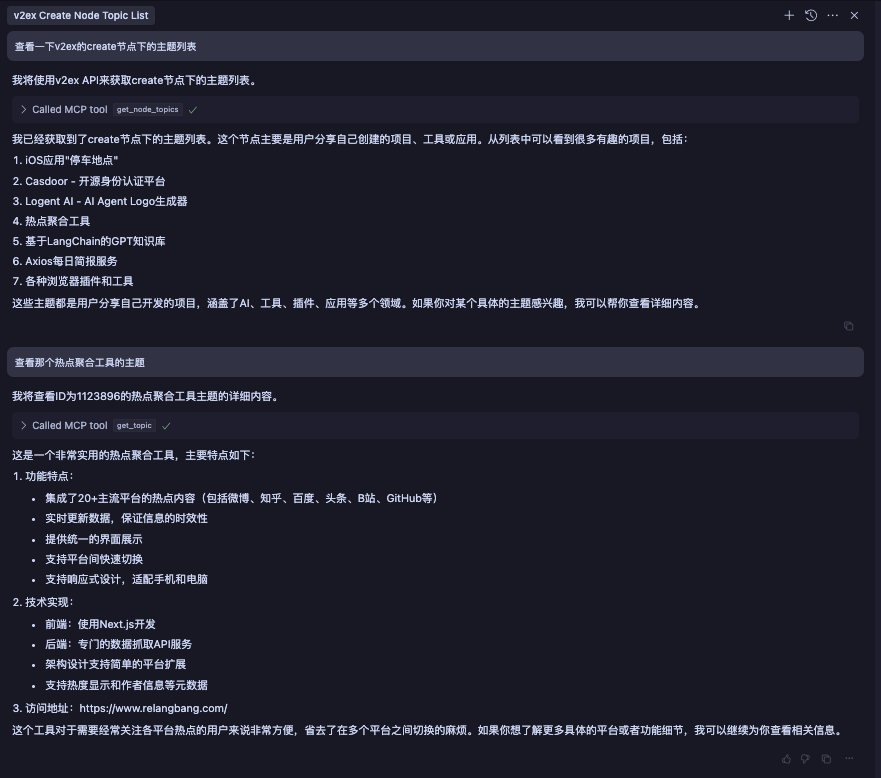
V2EX是我很喜欢逛的一个论坛,将其添加到MCP服务中后,就可以使用大模型来辅助刷帖
import { FastMCP } from 'fastmcp' |
这回我们使用cursor来测试结果
配置cursor的MCP服务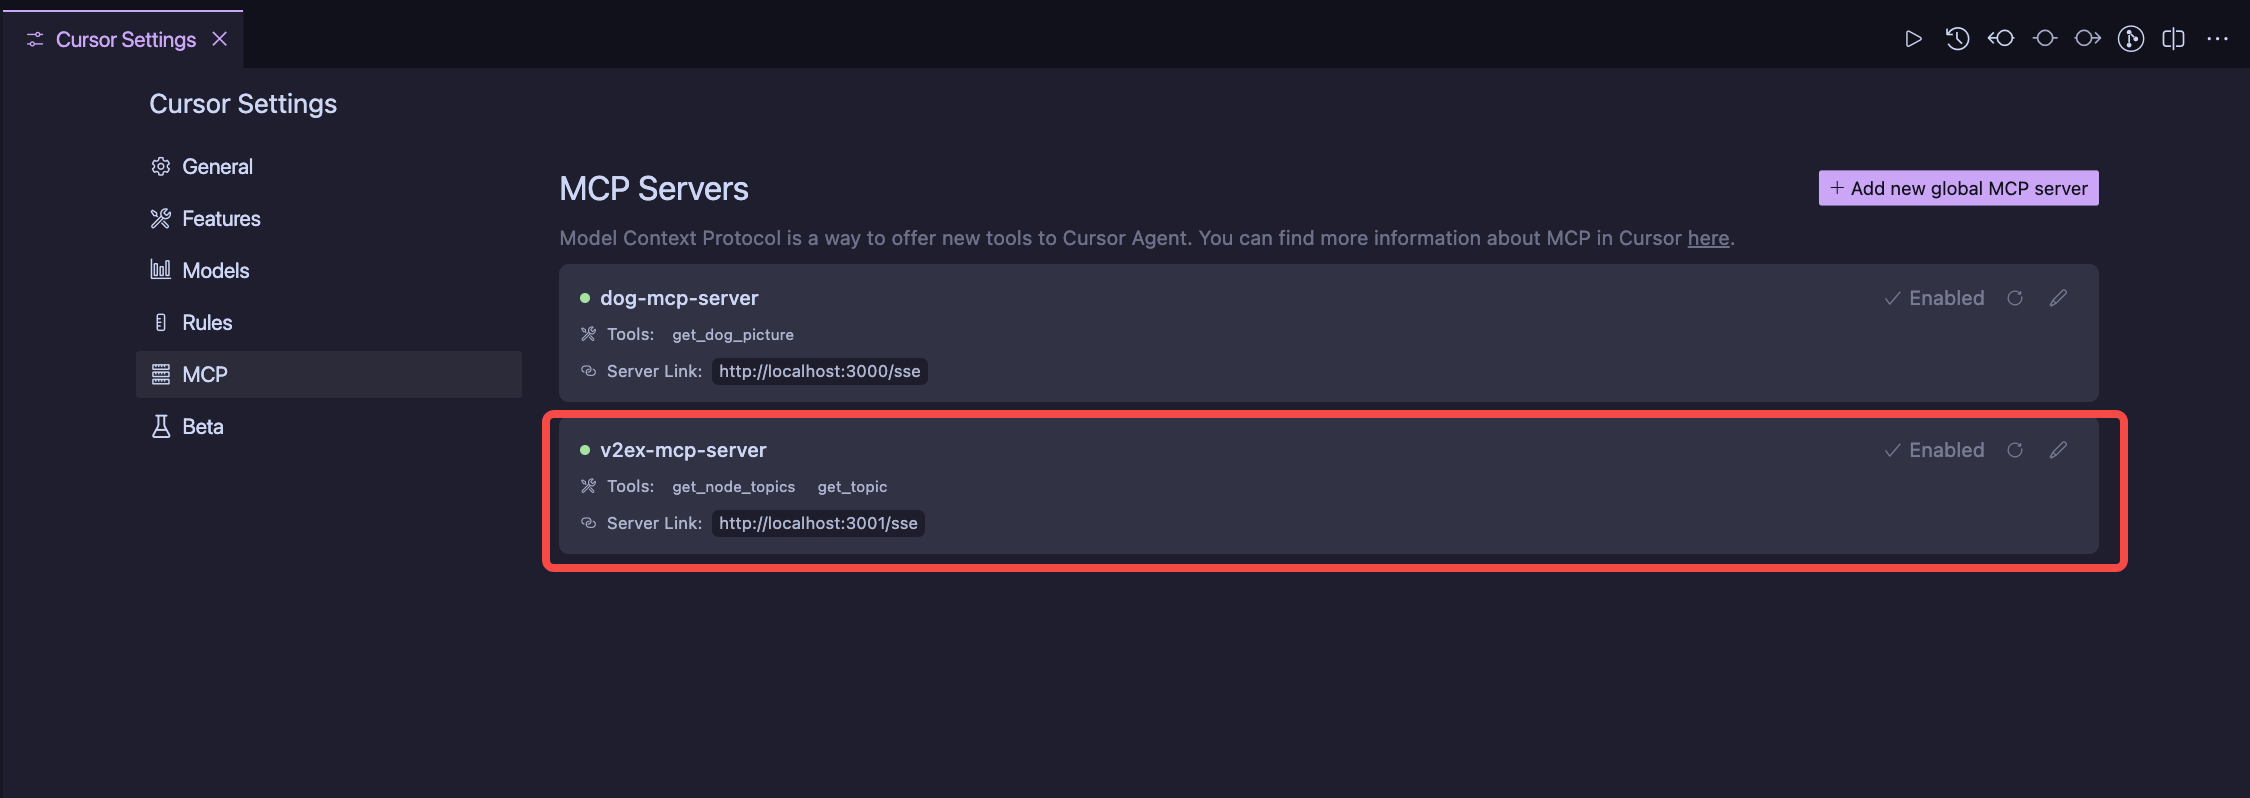
效果